Let me paint you a picture: there I was, staring at Chapter 13's map like it owed me money. Darkness? Check. Flying units doing synchronized swimming above water? Double check. Debris piles mocking my movement range? Oh honey, we’ve got the whole dysfunctional family reunion here. But fear not, fellow tacticians – after face-planting into this chapter more times than I’d like to admit, I’ve emerged with battle scars and questionable wisdom to share.
The 'Oops, I Forgot Torches' Setup
When the game whispers "mostly axes and fliers", it’s actually screaming "BRING BOWS OR DIE TRYING". My first attempt involved three flying units – a decision as wise as microwaving metal. Those shadow-hidden archers turned my pegasus knights into pincushions before I could say "retreat!"
Pro tips from my shame:
-
🏹 Fogado isn’t just an archer – he’s the Beyoncé of ballistas in this chapter
-
🐺 Merrin’s daggers should be renamed "anti-air confetti" given how they shred fliers
-
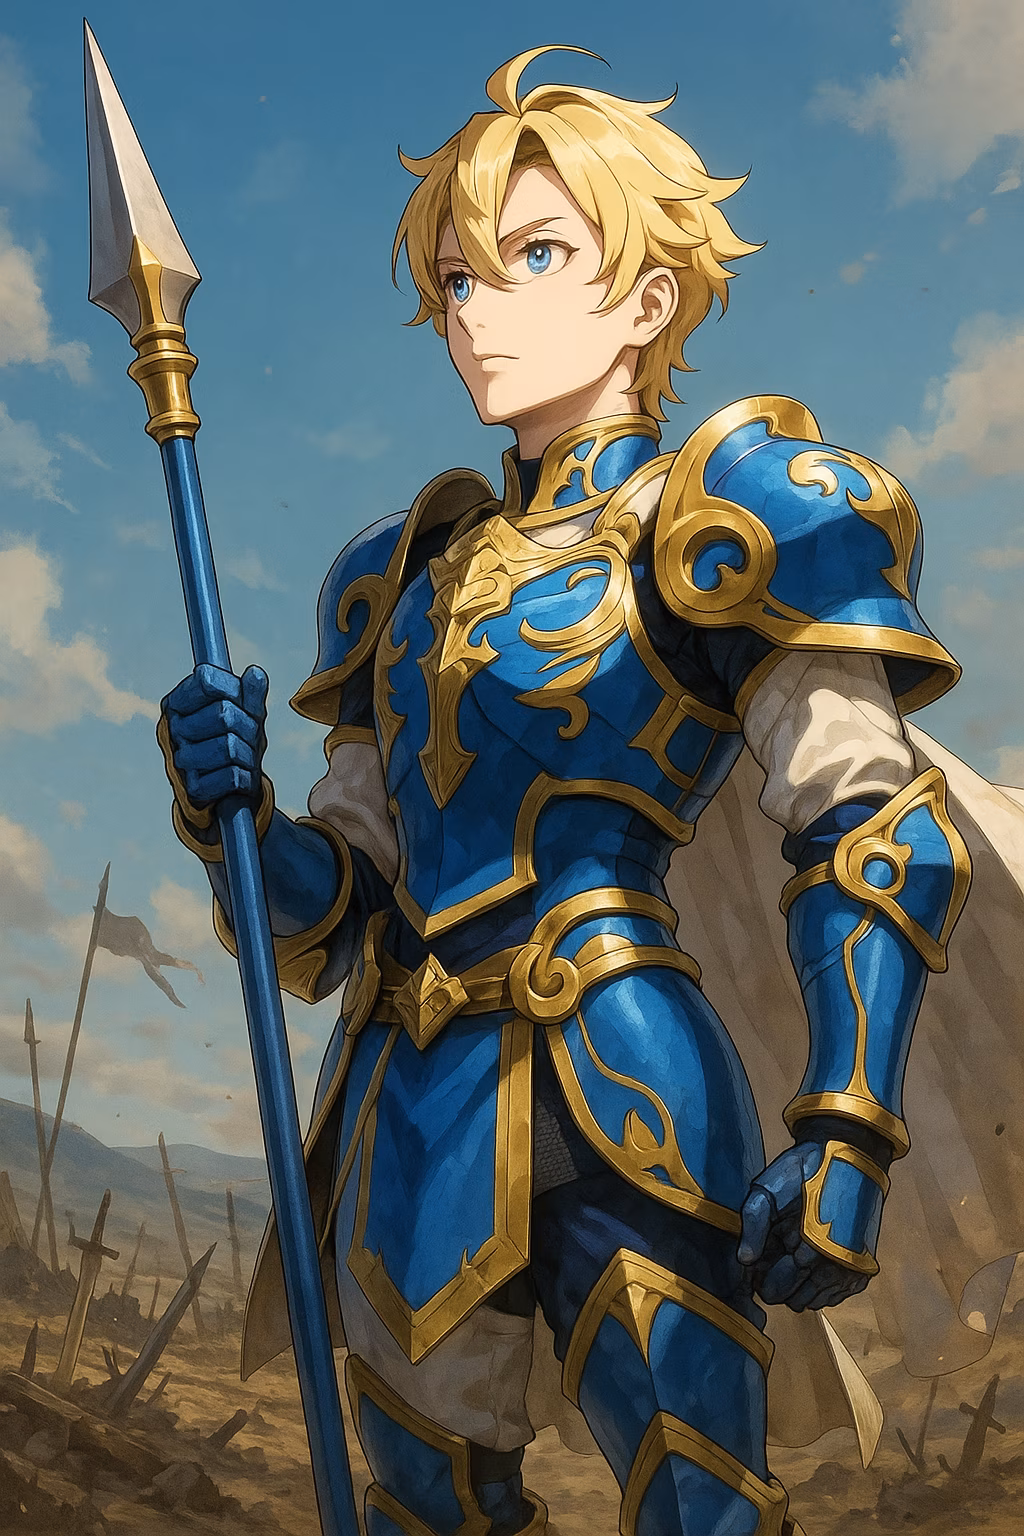
🛡️ Armor units: The human equivalent of "I’m not stuck with you, you’re stuck with me" against 80% of enemies
Bring Restore staffs unless you enjoy watching your tank get chain-slept by mages. Speaking from experience.
Debris: Nature’s Worst Tetris Game
Those barricades aren’t just obstacles – they’re the universe’s way of asking "How bad do you want it?" Three things I learned the hard way:
-
Big debris = commitment issues (needs multiple hits)
-
Timerra clears junk faster than my dog destroys shoes
-
NEVER fully destroy debris on enemy phase unless you want surprise guests
My genius strategy? Leave debris at 1HP like passive-aggressive roommates. Enemies either:
-
Waste turns breaking it
-
Get funneled into kill zones
-
Stub their toes (unconfirmed but plausible)
Left Path: Where Hope Goes to Die
The left route starts with a visible barbarian playing decoy. It’s like a horror movie – the real jump scares are:
-
Second barbarian doing his best statue impression
-
Mage waiting to roast armored units (RIP Louis’ eyebrows)
-
Archer hiding in shadows like my ex at a party
Key moves:
-
Bait barbarians with armored bait (season with vulneraries)
-
Deploy archer to play Whac-A-Mole with hidden enemies
-
Use debris as makeshift theater curtains for surprise attacks
Right Path: Fliers & Existential Crises
This side’s menu:
-
Sword masters practicing their beach yoga
-
Pegasus knights dive-bombing like seagulls after fries
-
Wolf knights being edgy in corners
My approach evolved through phases:
-
Denial: "I can take them with swords!"
-
Anger: "WHY DO THEY HAVE 8 MOV?!"
-
Acceptance: Deploying three archers like overprotective parents
Progression tip: Keep archers 3 tiles back to catch respawning fliers. It’s like having your own air defense system...if SAM sites shot pointy sticks.
Boss Fight: Sibling Rivalry Extreme
Totchi & Tetchi aren’t bosses – they’re a four-armed blender with health bars. My failed strategies included:
-
Trying to tank both (hospital bills still pending)
-
Forgetting about their mage friend (fireball facial anyone?)
-
Underestimating poison damage (RPG equivalent of food poisoning)
Winning formula:
-
Bait mage with javelin thrower
-
Break one twin using swordmaster’s emotional damage
-
Bombard with Merrin’s poison daggers (now with 50% more regret!)
-
Cleanup crew on remaining brother
Loot Safari & Animal Planet
The real victory? Finding:
-
Rescue staff in a villager’s panic room
-
Seraph robe hidden like contraband
-
Random vegetables (because apocalypse gardening is trending)
Animal friends checklist:
-
🐕 White dog judging your tactics
-
🐪 Drama llama...err, camel posing dramatically
-
🕊️ Pigeon probably carrying secret messages
Final thoughts: This chapter’s like a bad first date – dark, full of obstacles, and leaves you questioning life choices. But conquer it and you’ll unlock flea market therapy sessions. Because nothing says "I survived war" like compulsive gift shopping!
Now if you'll excuse me, I need to explain to Louis why his armor has 'KICK ME' painted on the back...