Fire Emblem Engage's 11th chapter is, without a doubt, a real 'plot twist' of a battle. Forget about winning in the traditional sense, folks—this is a straight-up escape mission. From the first step to the last, you're being hunted, and to add insult to injury, you've lost your precious Emblem Rings, which are now being wielded against you by the bad guys. Talk about adding salt to the wound! But hey, don't panic just yet. While this chapter throws a major curveball, the game does give you the tools to survive this gauntlet. You might be ring-less, but you've got some environmental tricks up your sleeve. Let's break down how to navigate this chaotic retreat and make it out in one piece.

The Setup: No Rings, No Crystal, No Problem?
This encounter starts with you on the run, and boy, are you stripped down. All your Emblems are gone, and so is your trusty Draconic Time Crystal. For players on Classic mode, this is a big deal—your 'undo' button is completely gone. A single misstep could mean a permanent goodbye to a unit, forcing a full restart. Yikes! Our advice? Save early, save often, and use multiple save slots. This chapter can go from zero to a hundred real quick, and having backup saves is like having a safety net.
Your party composition is key here. If you've been following guides, you're probably in decent shape. The setup phase is simpler now—no shopping, no unit swaps. Your options are:
-
Swapping equipment between party members or the caravan.
-
Changing starting positions.
-
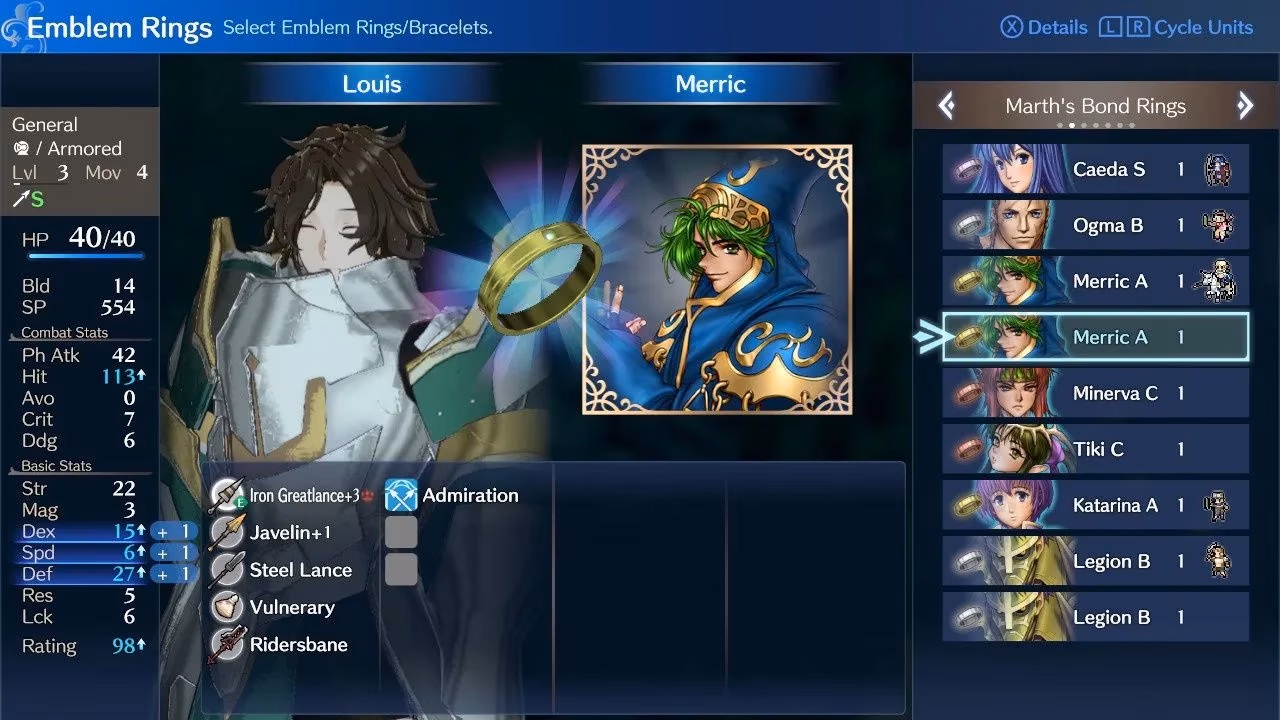
Equipping Bond Rings.
Important Note: Units who could use certain weapons thanks to their Emblem Ring will lose that ability. So, do some inventory musical chairs! Make sure everyone has a Vulnerary. Bond Rings are your new best friends; equip them on anyone who previously had an Emblem Ring. If you don't have any, don't sweat it—it's doable, but they give nice stat boosts.
Special Enemy Units: Know Thy Foe
This chapter features some unique baddies that require a specific strategy.
Veyle and Her Hounds
First up, Veyle is completely invincible. Don't even bother trying to take her down—it's a fool's errand. Her lackeys, The Hounds, are beatable, but unless you're a glutton for punishment, we recommend avoiding them. They don't drop anything special, just some XP and bragging rights.

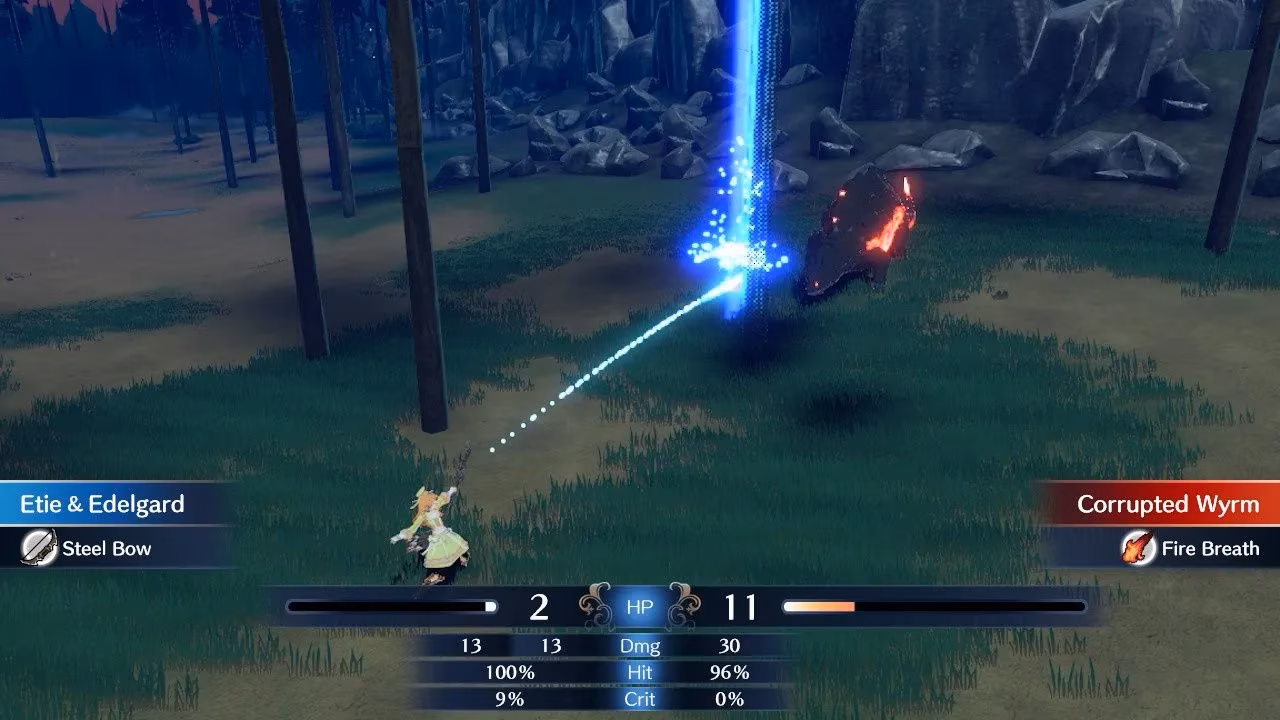
Fighting the Wyrms
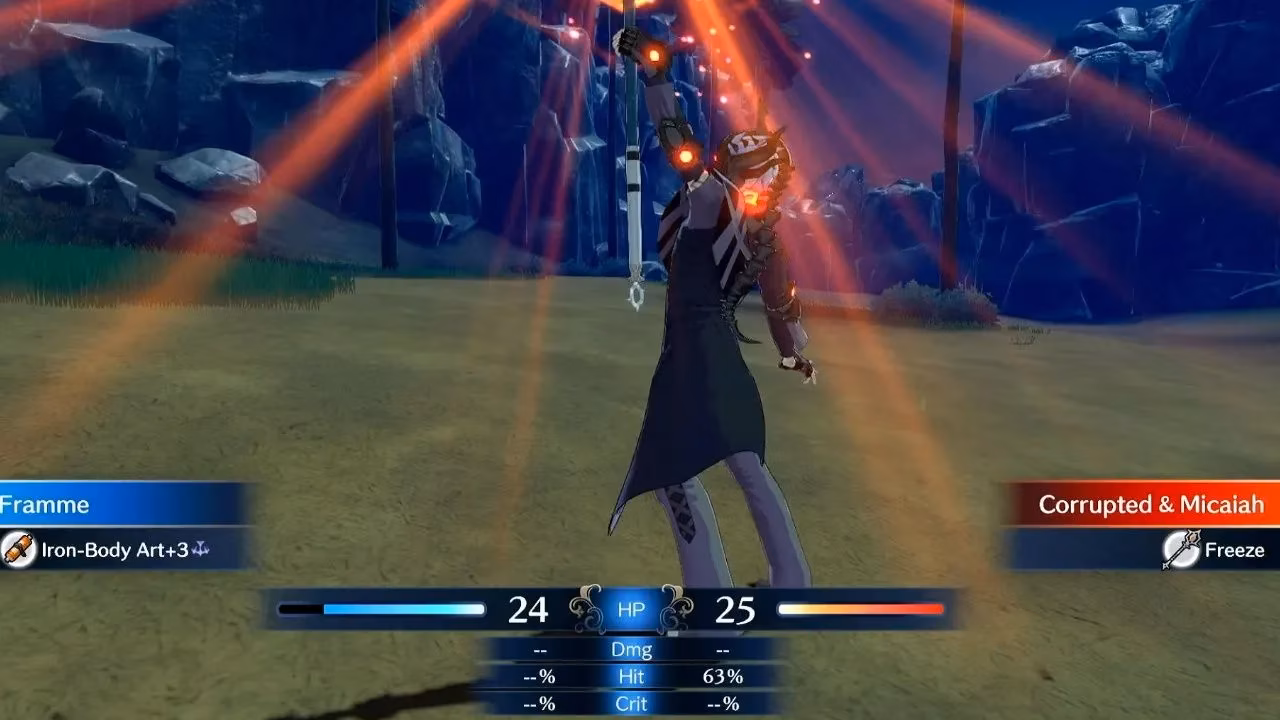
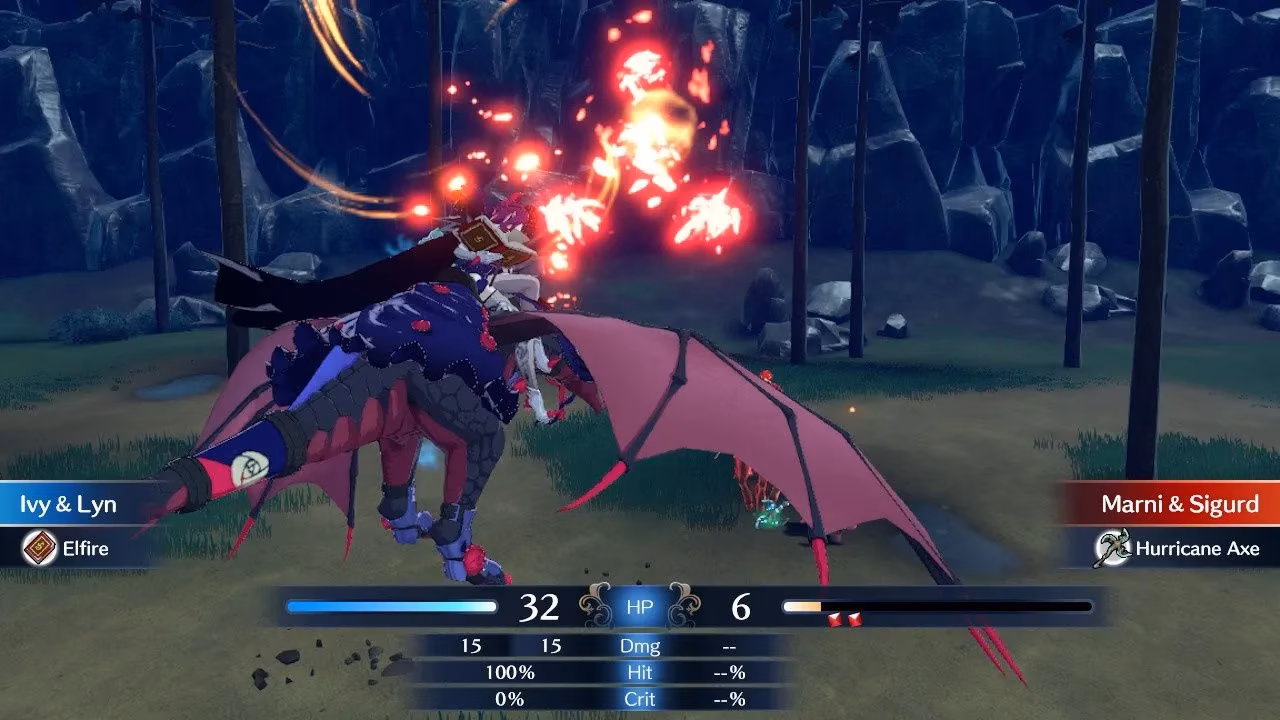
Now, the Corrupted Wyrms are a different story. You can damage and kill them, but is it worth it? Use the terrain in front of them for huge evasion buffs, and bring arrows and lances for decent damage. However, it's extremely dangerous. Their attacks have long range, and they can one-shot most of your party. Even with a 25% hit chance due to terrain, one lucky hit spells game over. They give good XP, but it's not game-changing. Plus, fighting them keeps you near the back, close to The Hounds when they arrive. Killing Wyrms is for masochists looking for an extra challenge.
The Retreat Strategy: Slow and Steady Wins the Race
Here's the breakdown of the battle:
| Enemies | 2x Sword Fighters, 2x Lance Fighters, 3x Axe Fighters, 1x Axe Armor, 3x Pegasus Knights (sword), 1x Pegasus Knight (axe), 2x Axe Cavaliers, 1x Lance Cavalier, 1x Thief, 1x Mage, 2x Archers, 2x Martial Monks, 2x Corrupted Wyrms, Veyle |
|---|---|
| Additional Units | 2x Axe Fighters, 1x Lance Armor, 1x Archer, 1x Martial Monk, Zephia, Mauvier, Marni, Griss (The Hounds) |
| Your Units | 10 (Deployment) |
| Victory Condition | Alear escapes the battlefield |
| Treasures | Tomahawk (from left-side Axe Armor), Master Seal (from Archer guarding exit) |
| Difficulty | ★★★★★★☆☆☆☆ (6/10) |
The battle starts with corrupted soldiers at your back, including Cavaliers, a Martial Monk, and Pegasus Knights. Do NOT rush forward thoughtlessly—that's a one-way ticket to a game over screen. Instead, march in formation. Keep your durable units (like armored ones) in front to protect vulnerable ranged allies. Archers should stay near the edges to handle flying units. Send an armored unit ahead; there's only one Mage, so they'll tank most hits beautifully.
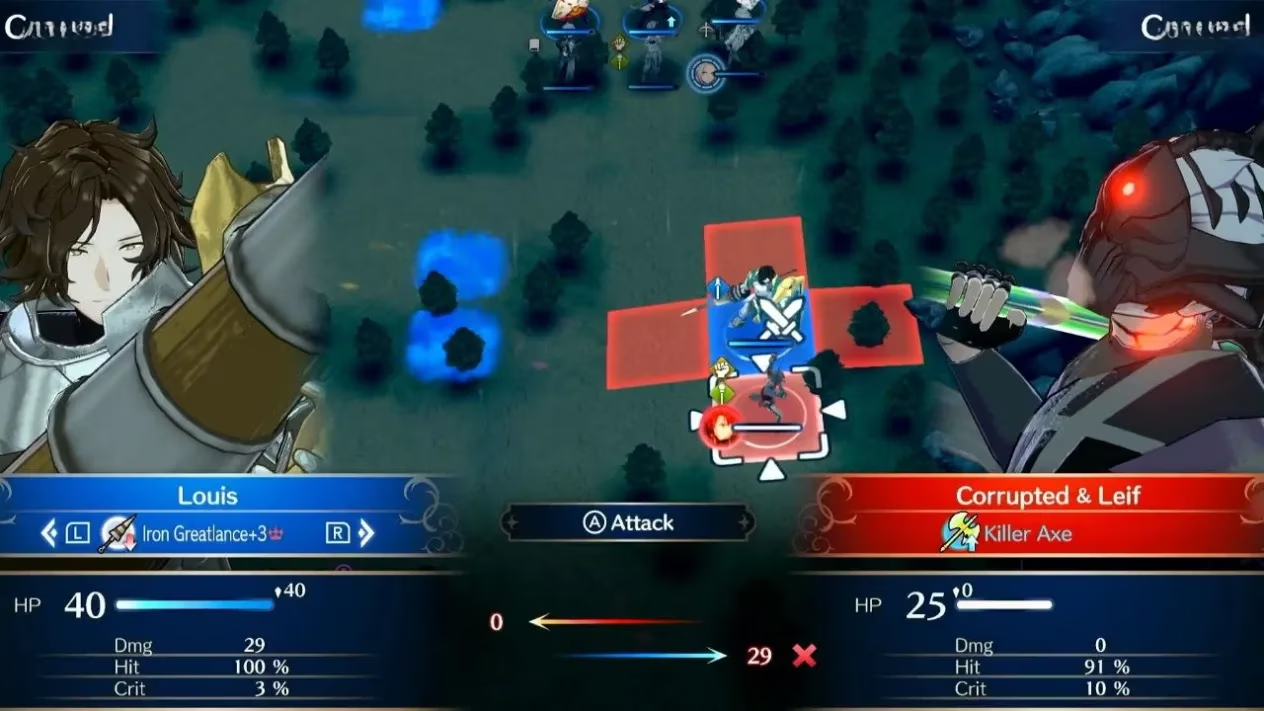
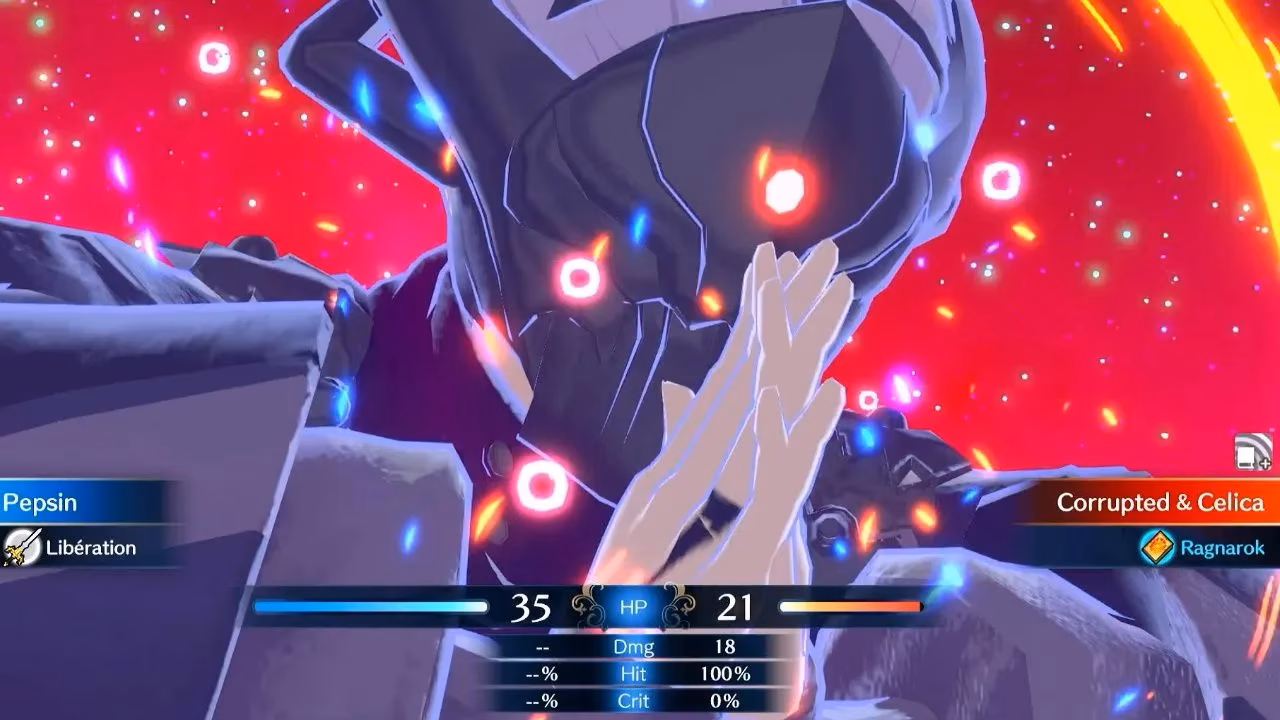
You will be hit by Emblem attacks from the corrupted. Thankfully, some, like Warp Ragnarok, seem less potent than when you used them. Keep your troops healed as you advance. The more corrupted you kill, the fewer rings are used against you.
A constant nuisance is the Martial Monk with a Freeze staff. This spell locks a unit in place for a turn from a distance. He's behind the Wyrms early on, so taking him out is tricky. If you have a Restore staff, use it; otherwise, just eat the freeze and move next turn.
The Cavalry Arrives: Reinforcements and a Twist
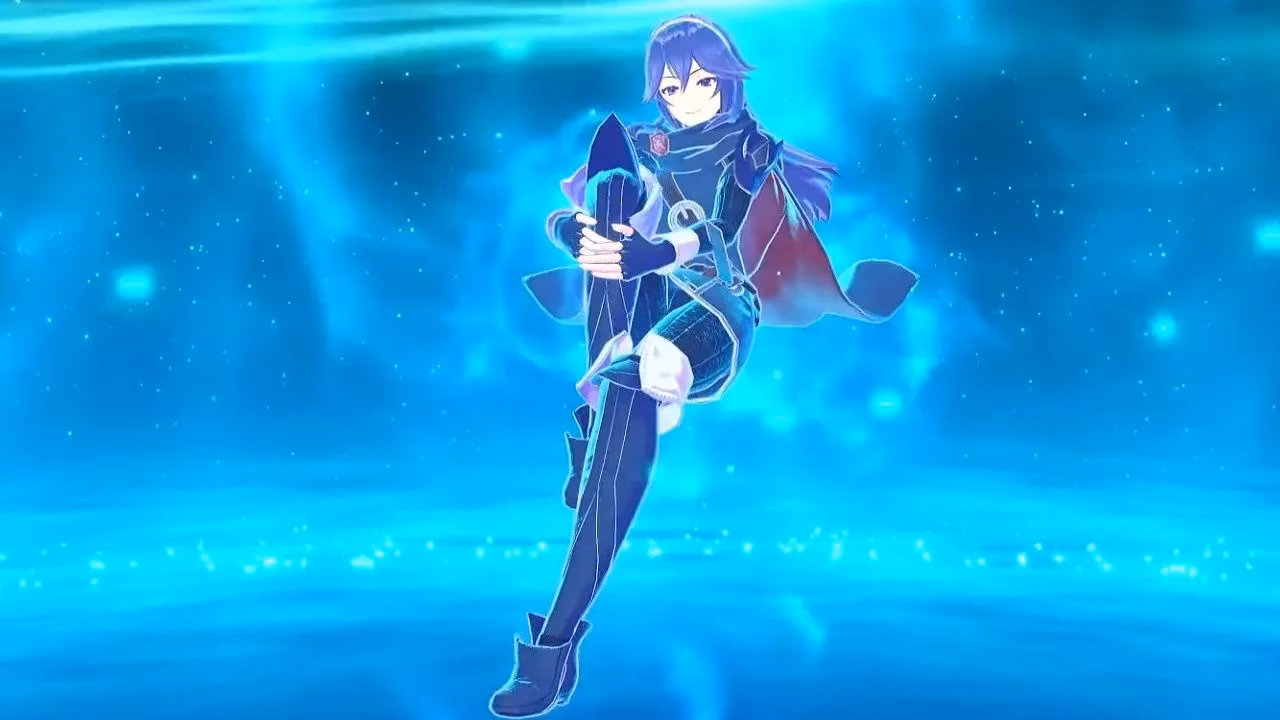
Once you've thinned the corrupted ranks, more enemies spawn near the exit, and The Hounds arrive. But wait—plot twist! You're joined by Ivy, Kagetsu, and Zelkov. Even better, you regain your Draconic Time Crystal and get two new Emblem Rings: Lyn and Lucina! It's like Christmas came early, huh?
At this point, you should be close to the exit. Don't just send Alear running yet. Position Alear right beside the exit and use your new powerhouse units to clear out remaining corrupted. The Hounds take a few turns to reach you—use that time to farm XP. When they get close, take safe potshots. You might even kill one for a ton of experience. Just watch out for deadly counterattacks. Once everyone's had their fun, have Alear cross the threshold to complete the mission. Voilà!
Post-Battle Shenanigans: Back to the Somniel
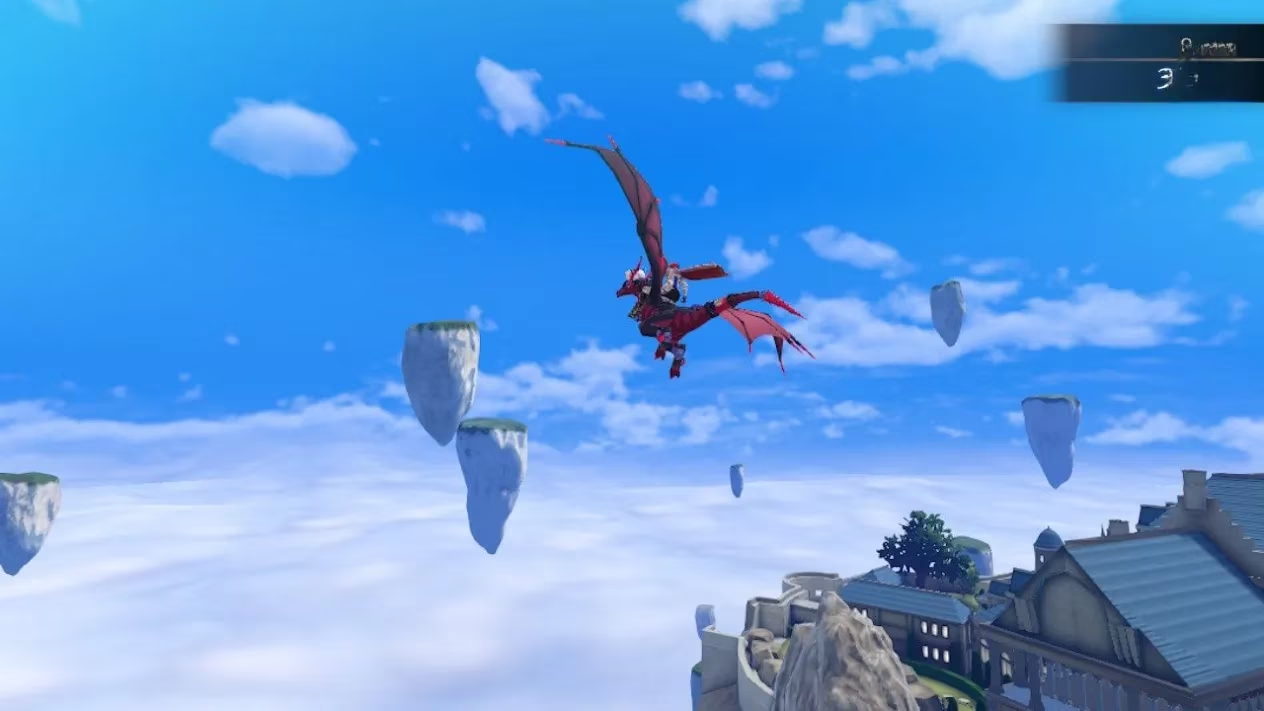
After surviving Chapter 11's chaos, you'll return to The Somniel. Excitingly, you unlock a new mini-game: Wyvern Riding! It's a fun, on-rails shooter to blow off some steam. Plus, shops now stock new items, including Secondary Seals and Master Seals. Time to gear up for the next challenge!
In summary, Chapter 11 is all about keeping your cool. It's a tough cookie, but with careful movement, smart use of terrain, and patience, you'll make it through. Remember, sometimes retreating is the smartest move—live to fight another day! 🏃♂️💨