
I still remember the first time I stepped into Chapter 15 of Fire Emblem Engage. The map is called Dancer In The Ruins, and it felt like a haunted house with locked doors, fog, and a dancer who refused to join me until I talked to him. Even in 2026, when I replay the game on Maddening, this chapter can be a breeze or a nightmare. It all depends on preparation. This is the story of how I learned to dance my way to an easy victory.
Setup Phase: The Team I Wish I Had Brought
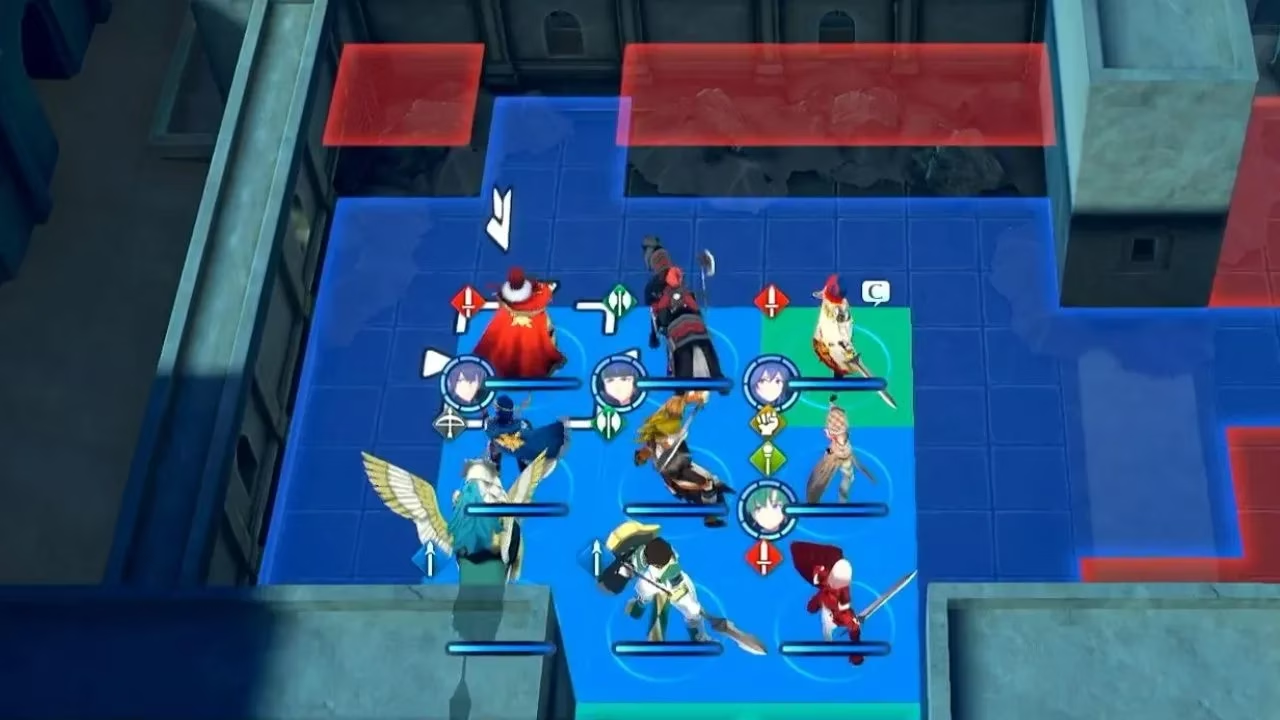
Before I even pressed start, I stared at the deployment screen and asked myself: what kind of army does this map want? The answer is simple. Chapter 15 throws a ton of axe-wielding enemies at you, so sword users are gold. There are many mages and very few archers, so flying units are fantastic. Their mobility and high resistance to magic make them perfect for this fortress. On the other hand, armored units struggle because mages tear through them, and archers are less important because you will not fight many fliers.
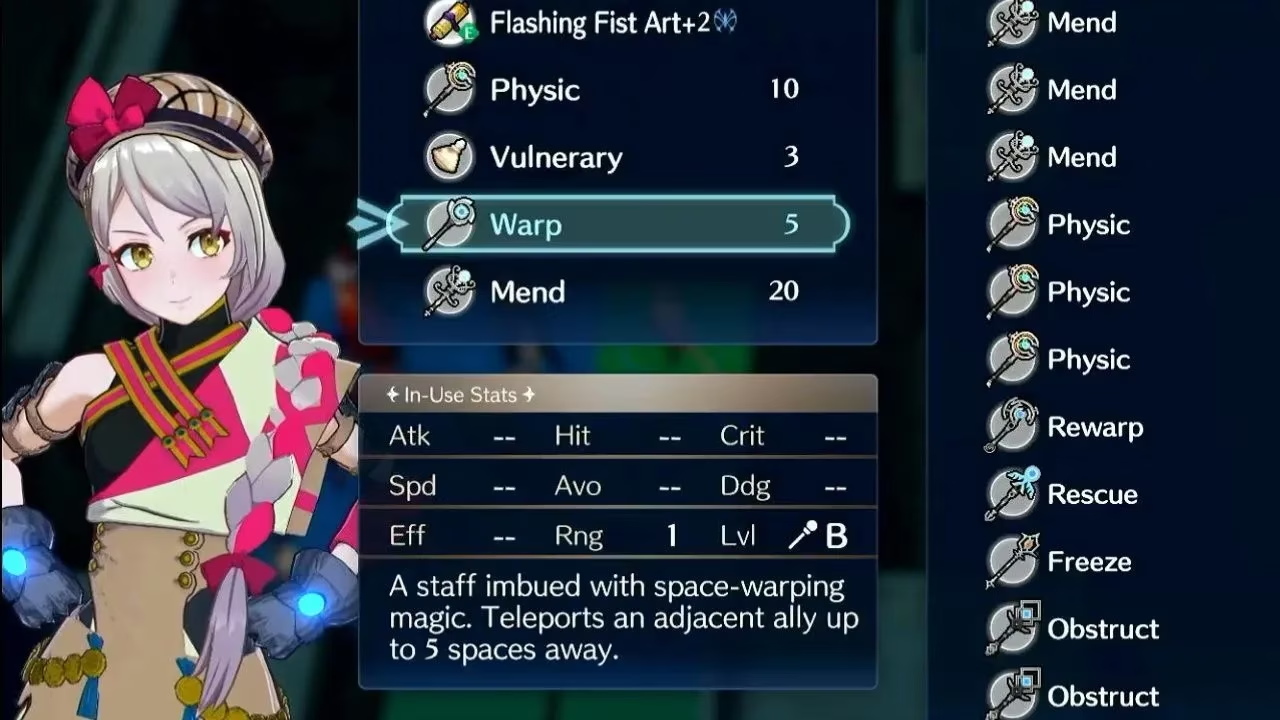
I also learned to put a Warp staff on my healer. The tight corridors make it easy to get trapped, and being able to warp someone out of danger saved my run more than once.
| Priority | Unit Type | Reason |
|---|---|---|
| High | Sword wielders | Enemy ranks are full of axe fighters |
| High | Flying units | Mobility and high Res against mages |
| Low | Armored units | Many enemy mages punish low Res |
| Low | Archers | Few enemy fliers to shoot |
| Essential | Healer with Warp | Tight corridors and emergency escapes |
| Essential | Mage | Reliable ranged damage |
The Follow-Up Party: Four Corrupted I Learned to Avoid
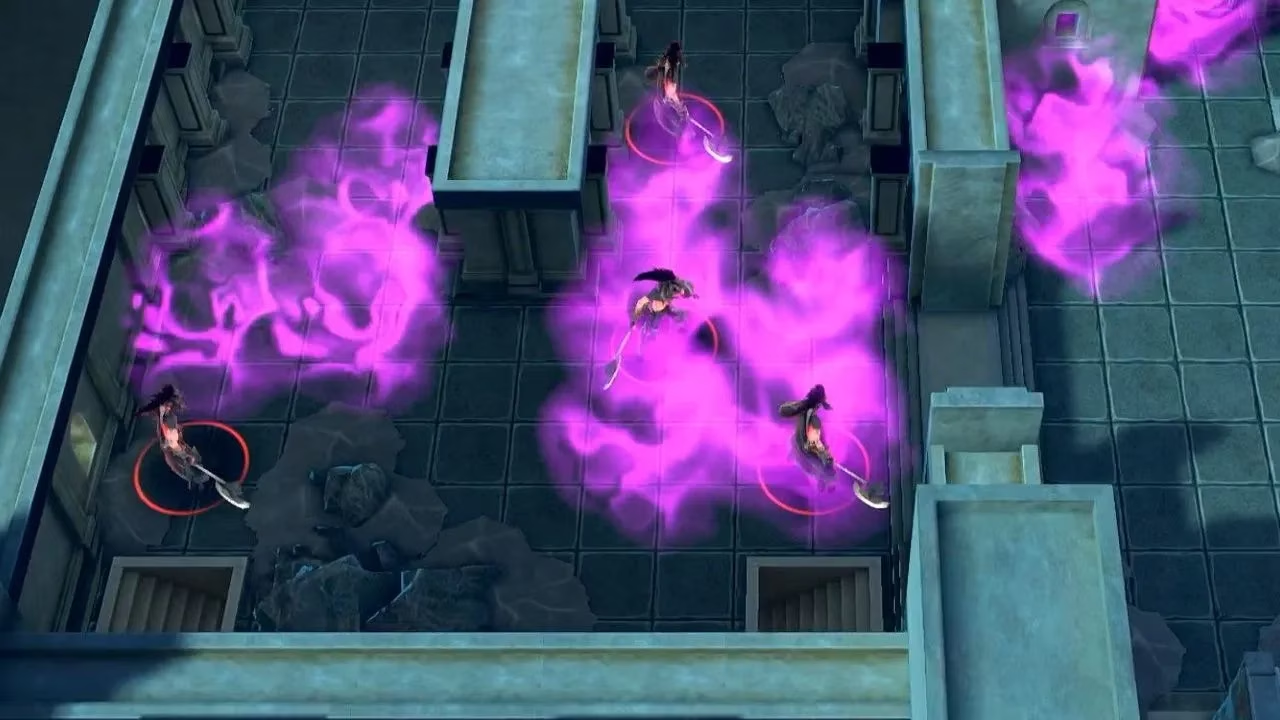
At around the midpoint of the battle, a second group of enemies appears. There are four of them, and they are more or less unkillable. I tried once. It went poorly. They are completely overtuned. If they catch up to you, you are going to be put through the blender. The key is that they spawn at a set point on the map. This is determined by destroying the third set of doors. When you reach the end of the hallway on the north side, there are two sets of doors: one to your right and another set below you. Destroying either set triggers the backup party.
So, if you have slower units lagging behind, do not push forward until they have caught up to your main party. That single lesson saved me from a lot of heartache.
Dealing With The Miasma
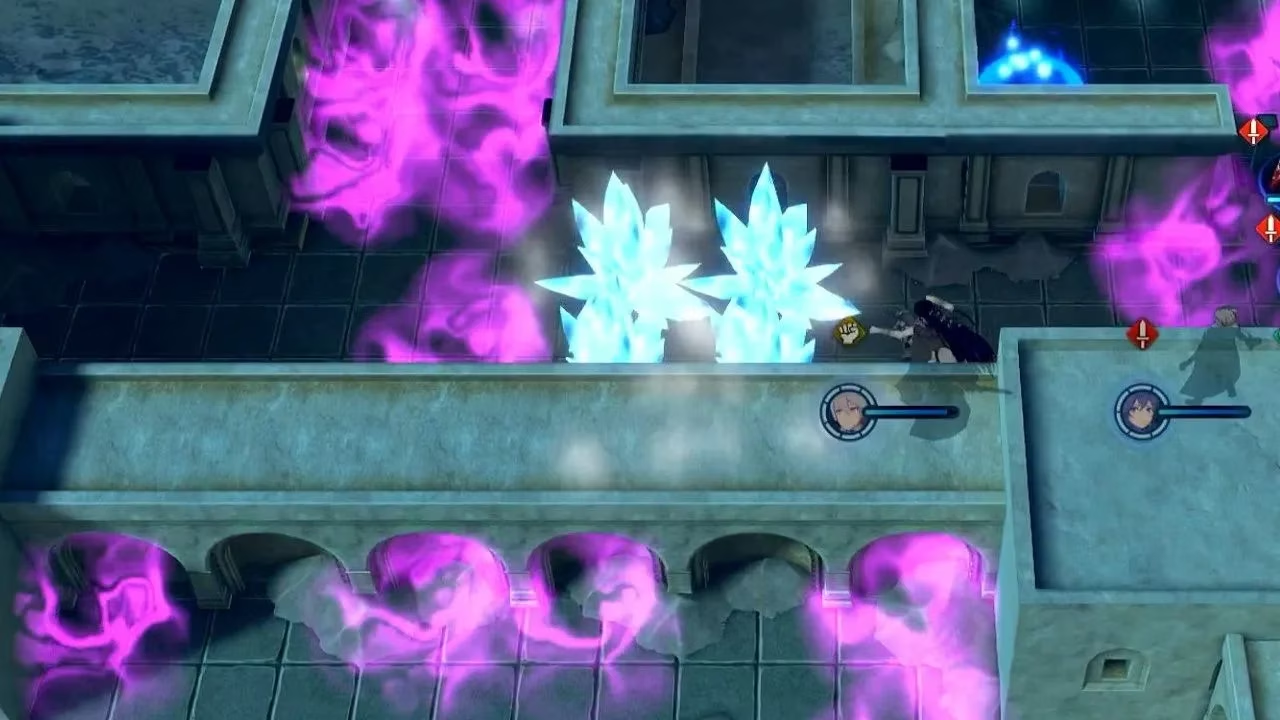
The most noteworthy aspect of this map is the miasma. It empowers your enemies and makes your troops more vulnerable. Seadall has a handy ability for dissipating the fog with his multiple terrain-altering moves. He is invaluable here. But there are other novel approaches. You can use attacks with the smash ability to shift opponents out of the miasma and onto normal tiles. This requires taking a hit because those weapons attack second, but if you have a healer nearby, it is not a huge issue. This battle gives you plenty of opportunities to heal.
Another thing worth noting: most enemies do not start on these special tiles, and your units standing on them does not affect their offensive capabilities. It affects their defensive capabilities. So, if they can score a killing blow while standing in the fog, as long as they are not in range of another enemy troop, there is no harm moving onto one of these spaces.
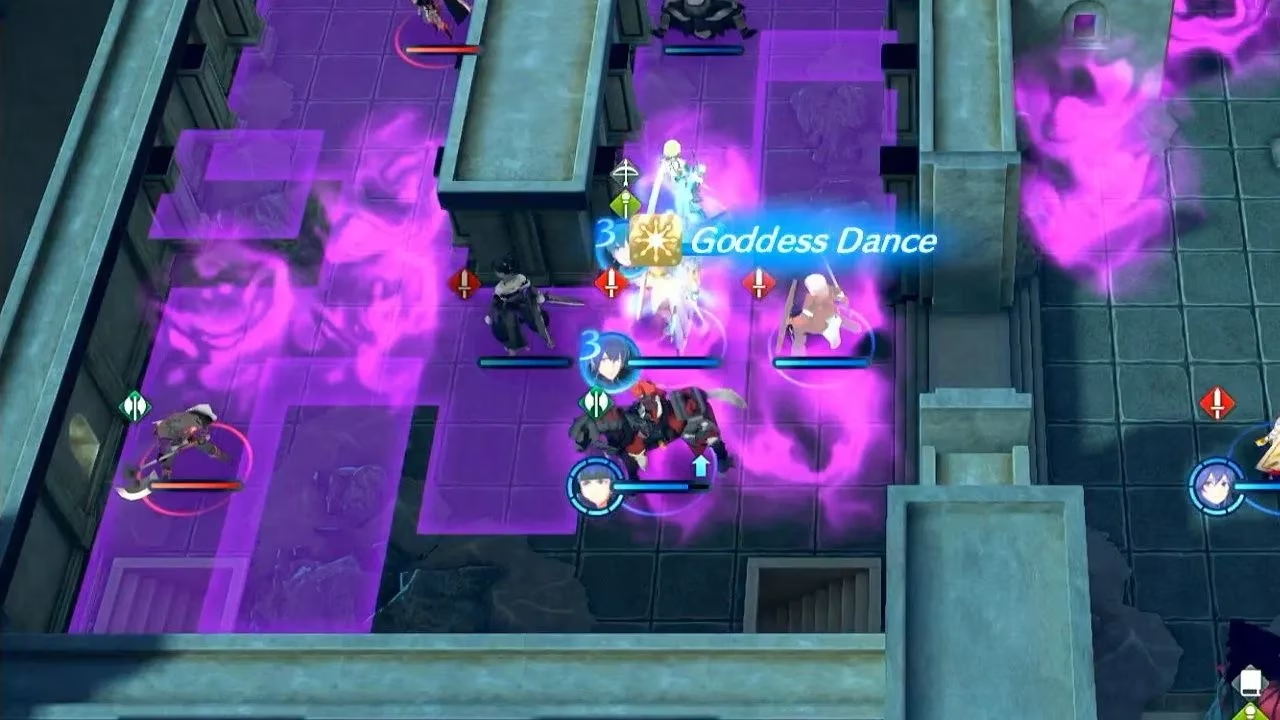
Lastly, between Seadall's dance ability and Byleth's Goddess Dance special, you can grant multiple units a second turn. I used these abilities to clear out rooms of enemies before they had a chance to benefit from moving onto those unique tiles.
The Battle In The Northern Fortress
Here is the enemy layout I faced:
| Room | Enemies |
|---|---|
| First Room | 5x Axe Fighter, 2x Lance Fighter, 1x Mage |
| Second Room | 2x Axe Fighter, 3x Mage |
| Third Room | 2x Axe Fighter, 1x Sword Fighter, 3x Mage, 1x Swordmaster |
| Treasure Room | 2x Axe Fighters |
| Fourth Room | 4x Lance Fighter, 3x Mage |
| Final Room | 3x Axe Fighter, 3x Archer, 1x Barbarian |
The first room is divided into two sections. Seadall is in the northern section, contending with two Axe Fighters. I sent at least one sword-using character up there to help him, and I made sure Alear talked to him. That way I could take control of the nimble dancer myself.
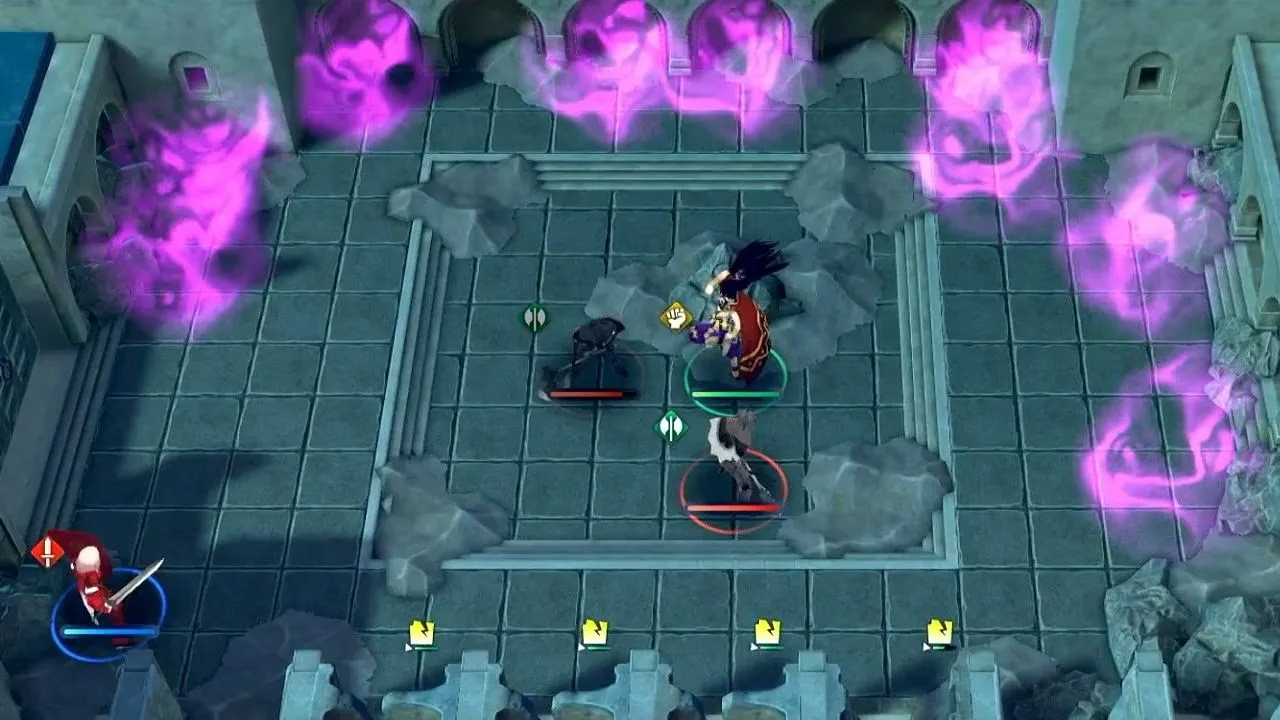
Beyond that, the lower half has more enemy units, but they are not particularly scary. All I needed to do was line a few units across the first column of tiles in the room filled with enemies and bait them to charge forward. I made sure the unit in the central tile could survive a hit from a melee unit and a magic unit. Then, in the next round, I took advantage of their weaknesses and wiped them out.
Once I cleared the enemies in this area and talked to Seadall, I prepared to enter the second section. I did not bust the doors open right away. I weakened them so I could knock them off the hinges with my first attack in the next round. But I made sure all my most mobile fighters were up against the door before I proceeded.
The Second Room
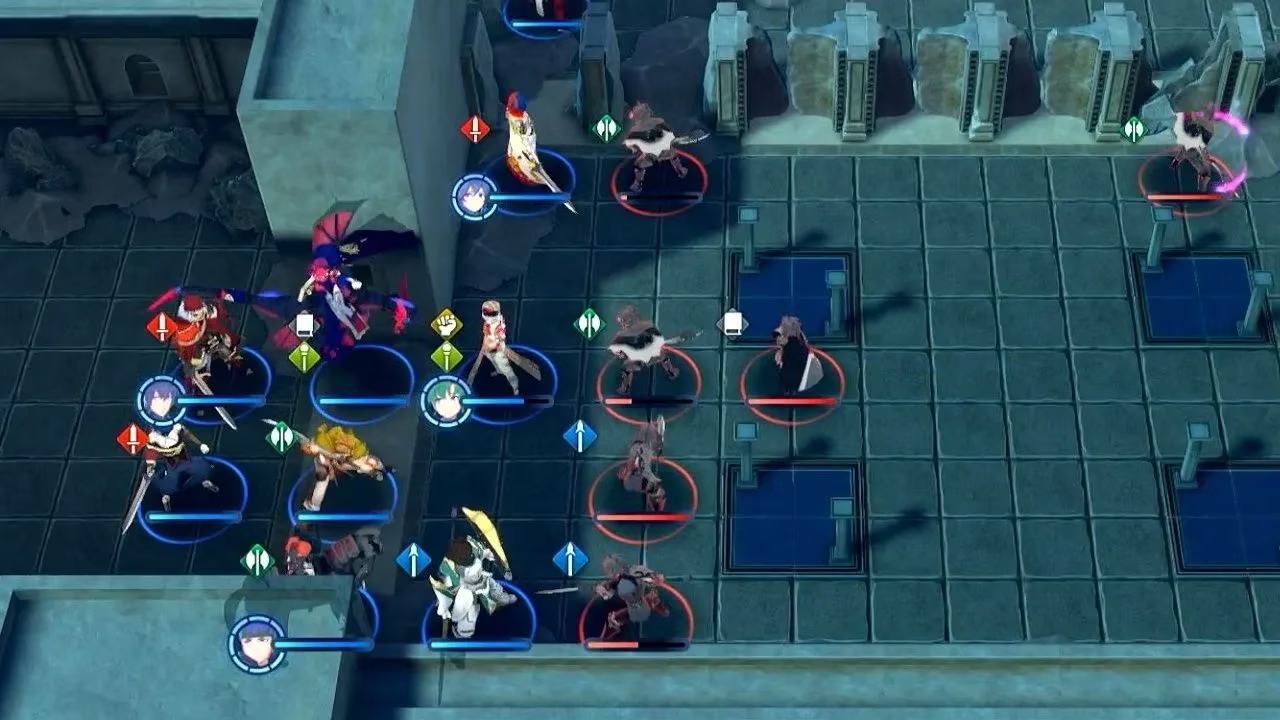
There are three Mages at the top of the second room. My primary goal was to take all of them out. If I had enough mobile units, I could do that just by positioning them well. Otherwise, I used Byleth's Goddess Dance to give four characters an extra turn and had them clear the room. With Goddess Dance, I effortlessly killed all the Mages and usually took out both Axe Fighters as well.
The Third Room
Once again, I did not burst through the doors until I positioned all my units accordingly. Once I broke down the doors, I hung out near the doorway. This encouraged the other troops to rush me. I always stayed a few tiles away from the Miasma, and the enemy units came to me.
Once I got to the end of this hallway, my best bet was to use Seadall's abilities to clear out the Miasma. There are two Mages guarding the end of the hallway. Before they could even reach me, I moved my units in to take them out. Inevitably, I came up against a Swordmaster, but by that point they only had a single companion to back them up. I drew them both out into the corridor and ganged up on them.
Room 4 And The Treasure Room
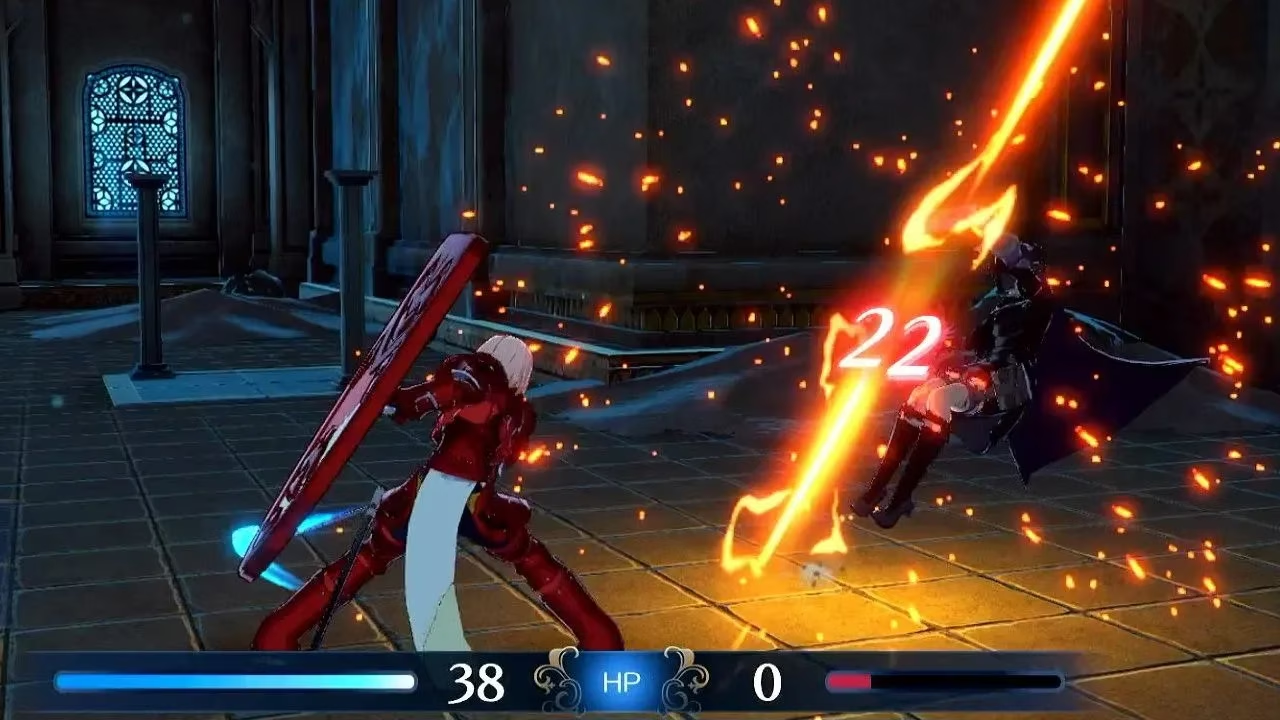
Now, here is where things get tricky. The two sets of doors mentioned in the follow-up party section are at the end of this hallway. I did not break down either set until all my troops were in position and fully healed. I also made sure to take advantage of the nearby Emblem Energy Pool to regain Byleth's Goddess Dance. Once I was ready, I broke down both sets of doors.
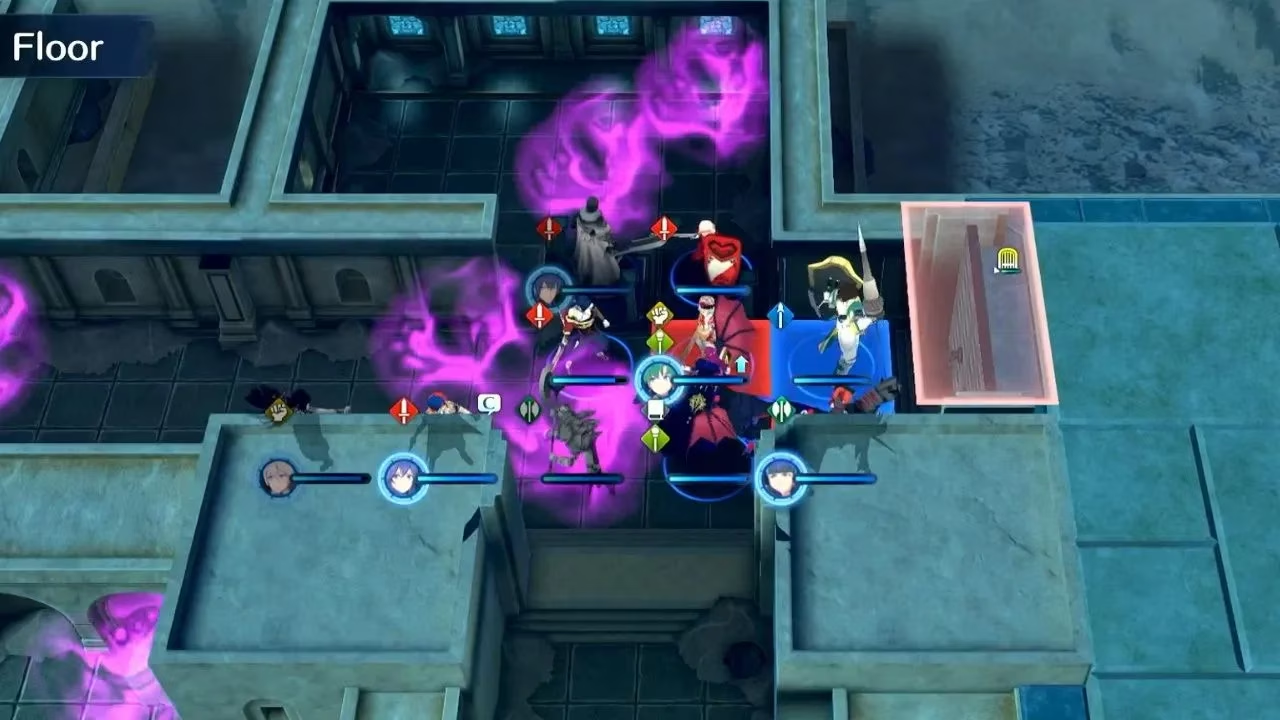
I sent two party members down to fight the two Axe Fighters guarding the treasure, baiting them far away from the miasma. I positioned some resilient troops at the doorway of the room on my right. I was able to claim the treasure, which is an Energy Drop, in a few turns. This room on the right contains the hardest encounter of this chapter.
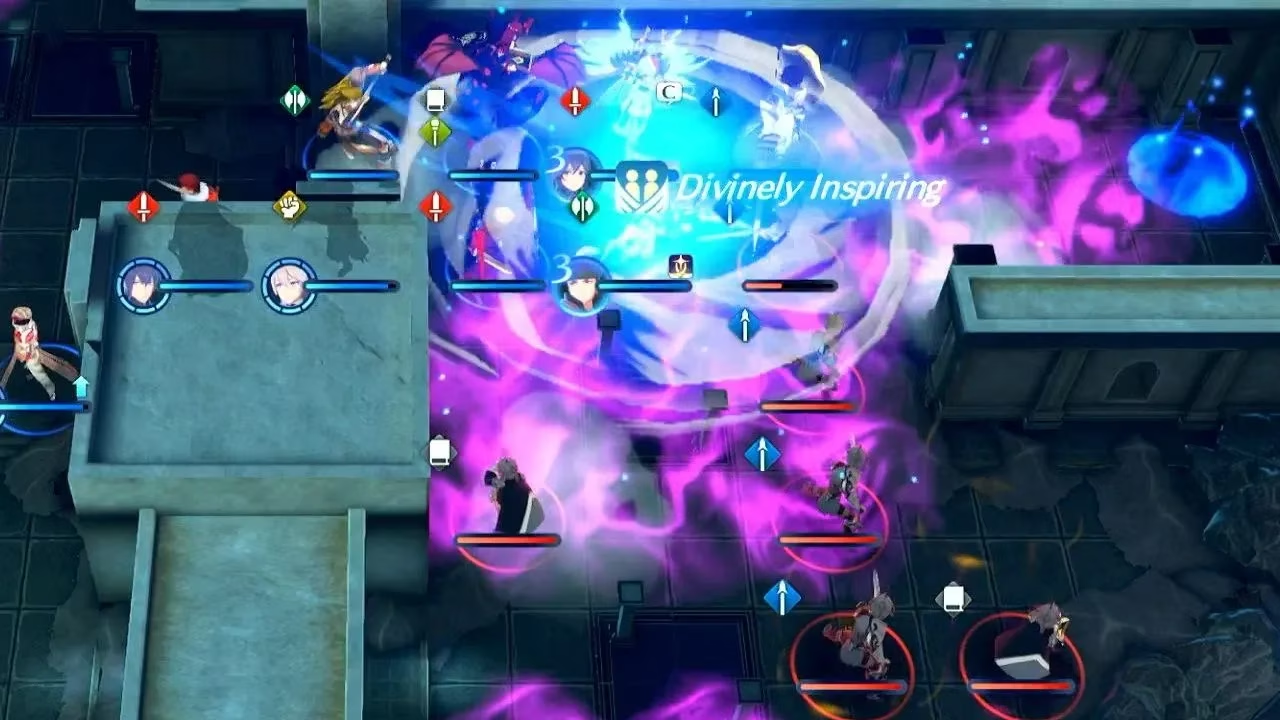
The secret to clearing out this room, which is filled with miasma, Mages, and Spear-Fighters with magical spears, is to clear the Miasma and then thin out the enemy troops before they ever have a chance to attack. Obviously, Seadall is great at clearing out the Miasma, but an even better choice is Ike. By using Ike's Great Aether ability, I kept Seadall active, which meant he could give one of my more powerful units a second turn. I also had the Goddess Dance available again, so I used that to give my troops even more turns. Ideally, when my turn was over, all the Mages were dead, and there were only a few Lance Fighters to take care of.
The Final Room
The only thing I needed to know about the last room is that there are two archers present. This is the one section of the chapter that could be dangerous for flying units. I recommend using Seadall's ability to pin the Barbarian in the corner. Take out the Axe Fighter next to them with ranged attacks so they cannot clear a path for the Barbarian.
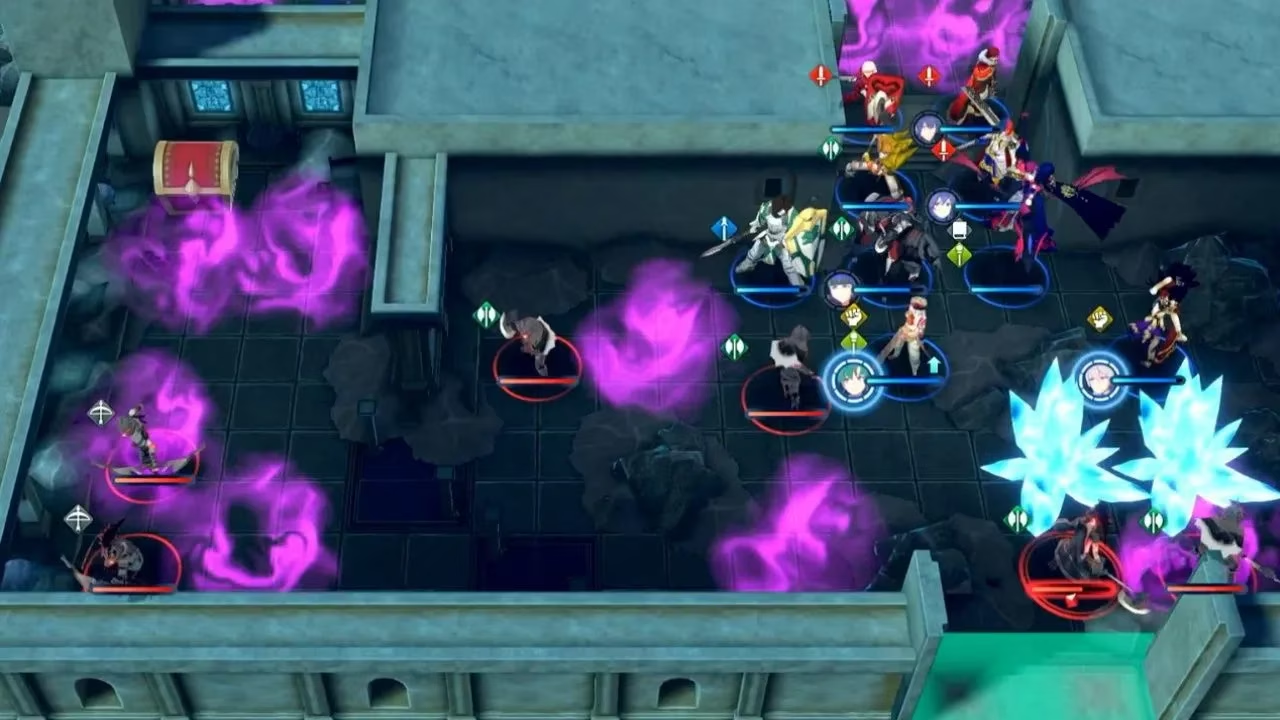
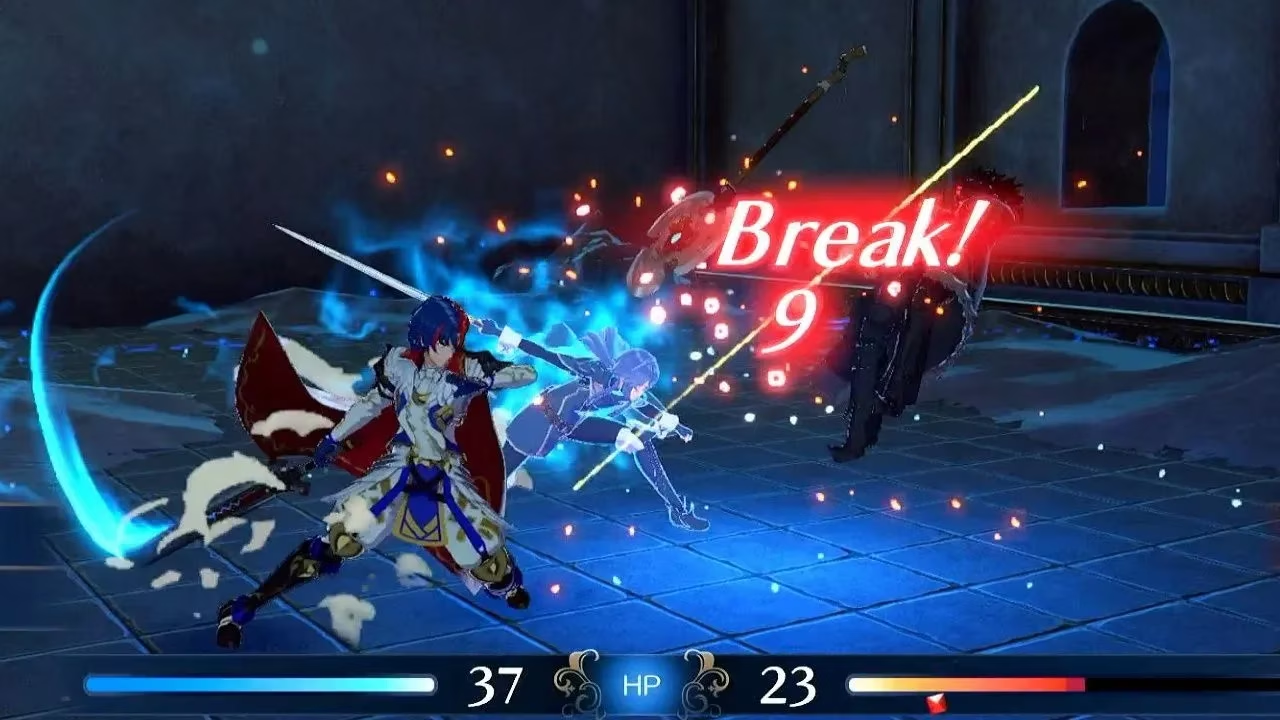
I was able to clear out the other units with my troops relatively easily, as the only really tough one was pinned against the wall. In the second round, I sent someone to grab the treasure chest, which contains a Talisman, and had everyone team up on the Barbarian. I broke him with my sword-wielding characters and then hammered him with ranged attacks from the rest of my party. Finally, I moved Seadall into the flashing green tile and made my escape.
Final Thoughts: A Dance Worth Remembering
Chapter 15 of Fire Emblem Engage is rated around a 6/10 in difficulty, but that number hides how punishing it can be if you rush. The victory condition is simple: get Seadall to the exit. The treasures are the Energy Drop in the northern chest and the Talisman in the final room. The real challenge is managing the miasma, the locked doors, and the four unkillable corrupted reinforcements. In 2026, with all the DLC and balance changes behind us, the core strategy remains the same: bring swords, bring fliers, bring Seadall, and dance your way to victory. I still make mistakes on Maddening, but now I know the steps. And once you know the steps, this haunted fortress becomes a stage.